Hi everybody,
some application, i.e. XBMC can show informations on a display by using LCDproc as driver.
This post describes a way to connect a HD44780 display to a Raspberry PI by i2c bus.
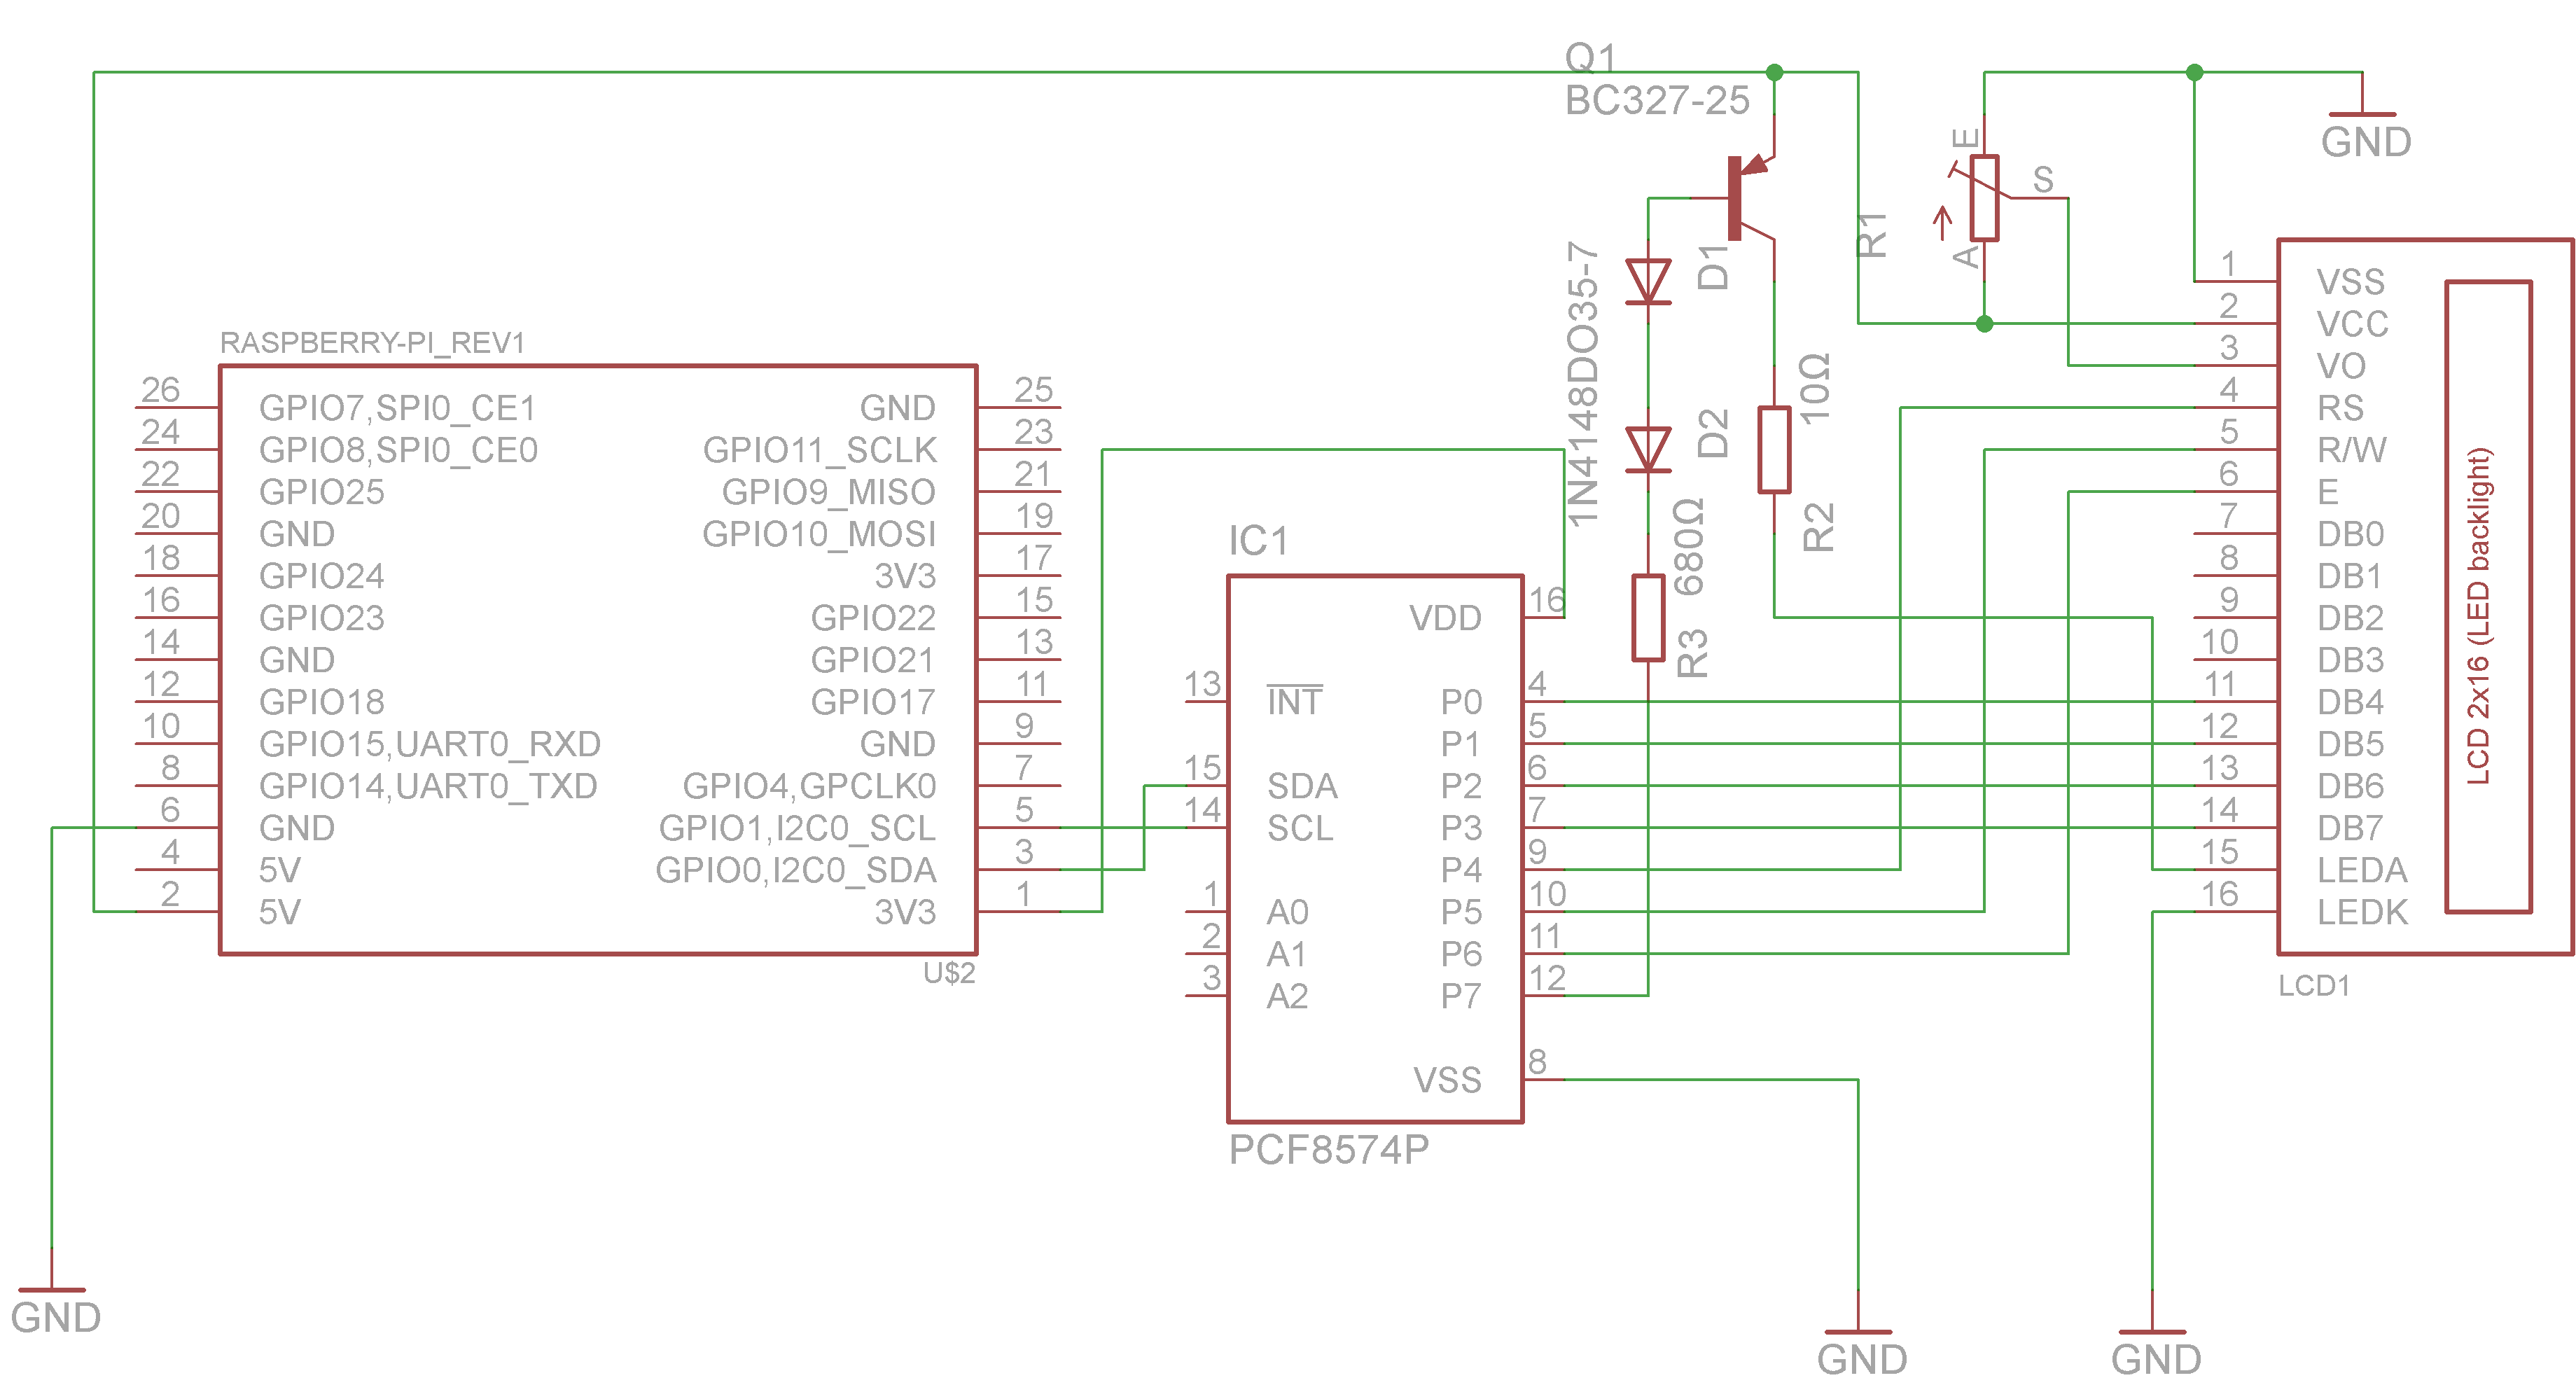
Let’s start with the physical layer. This is the overview schematic on how to connect the display to a Raspberry PI.
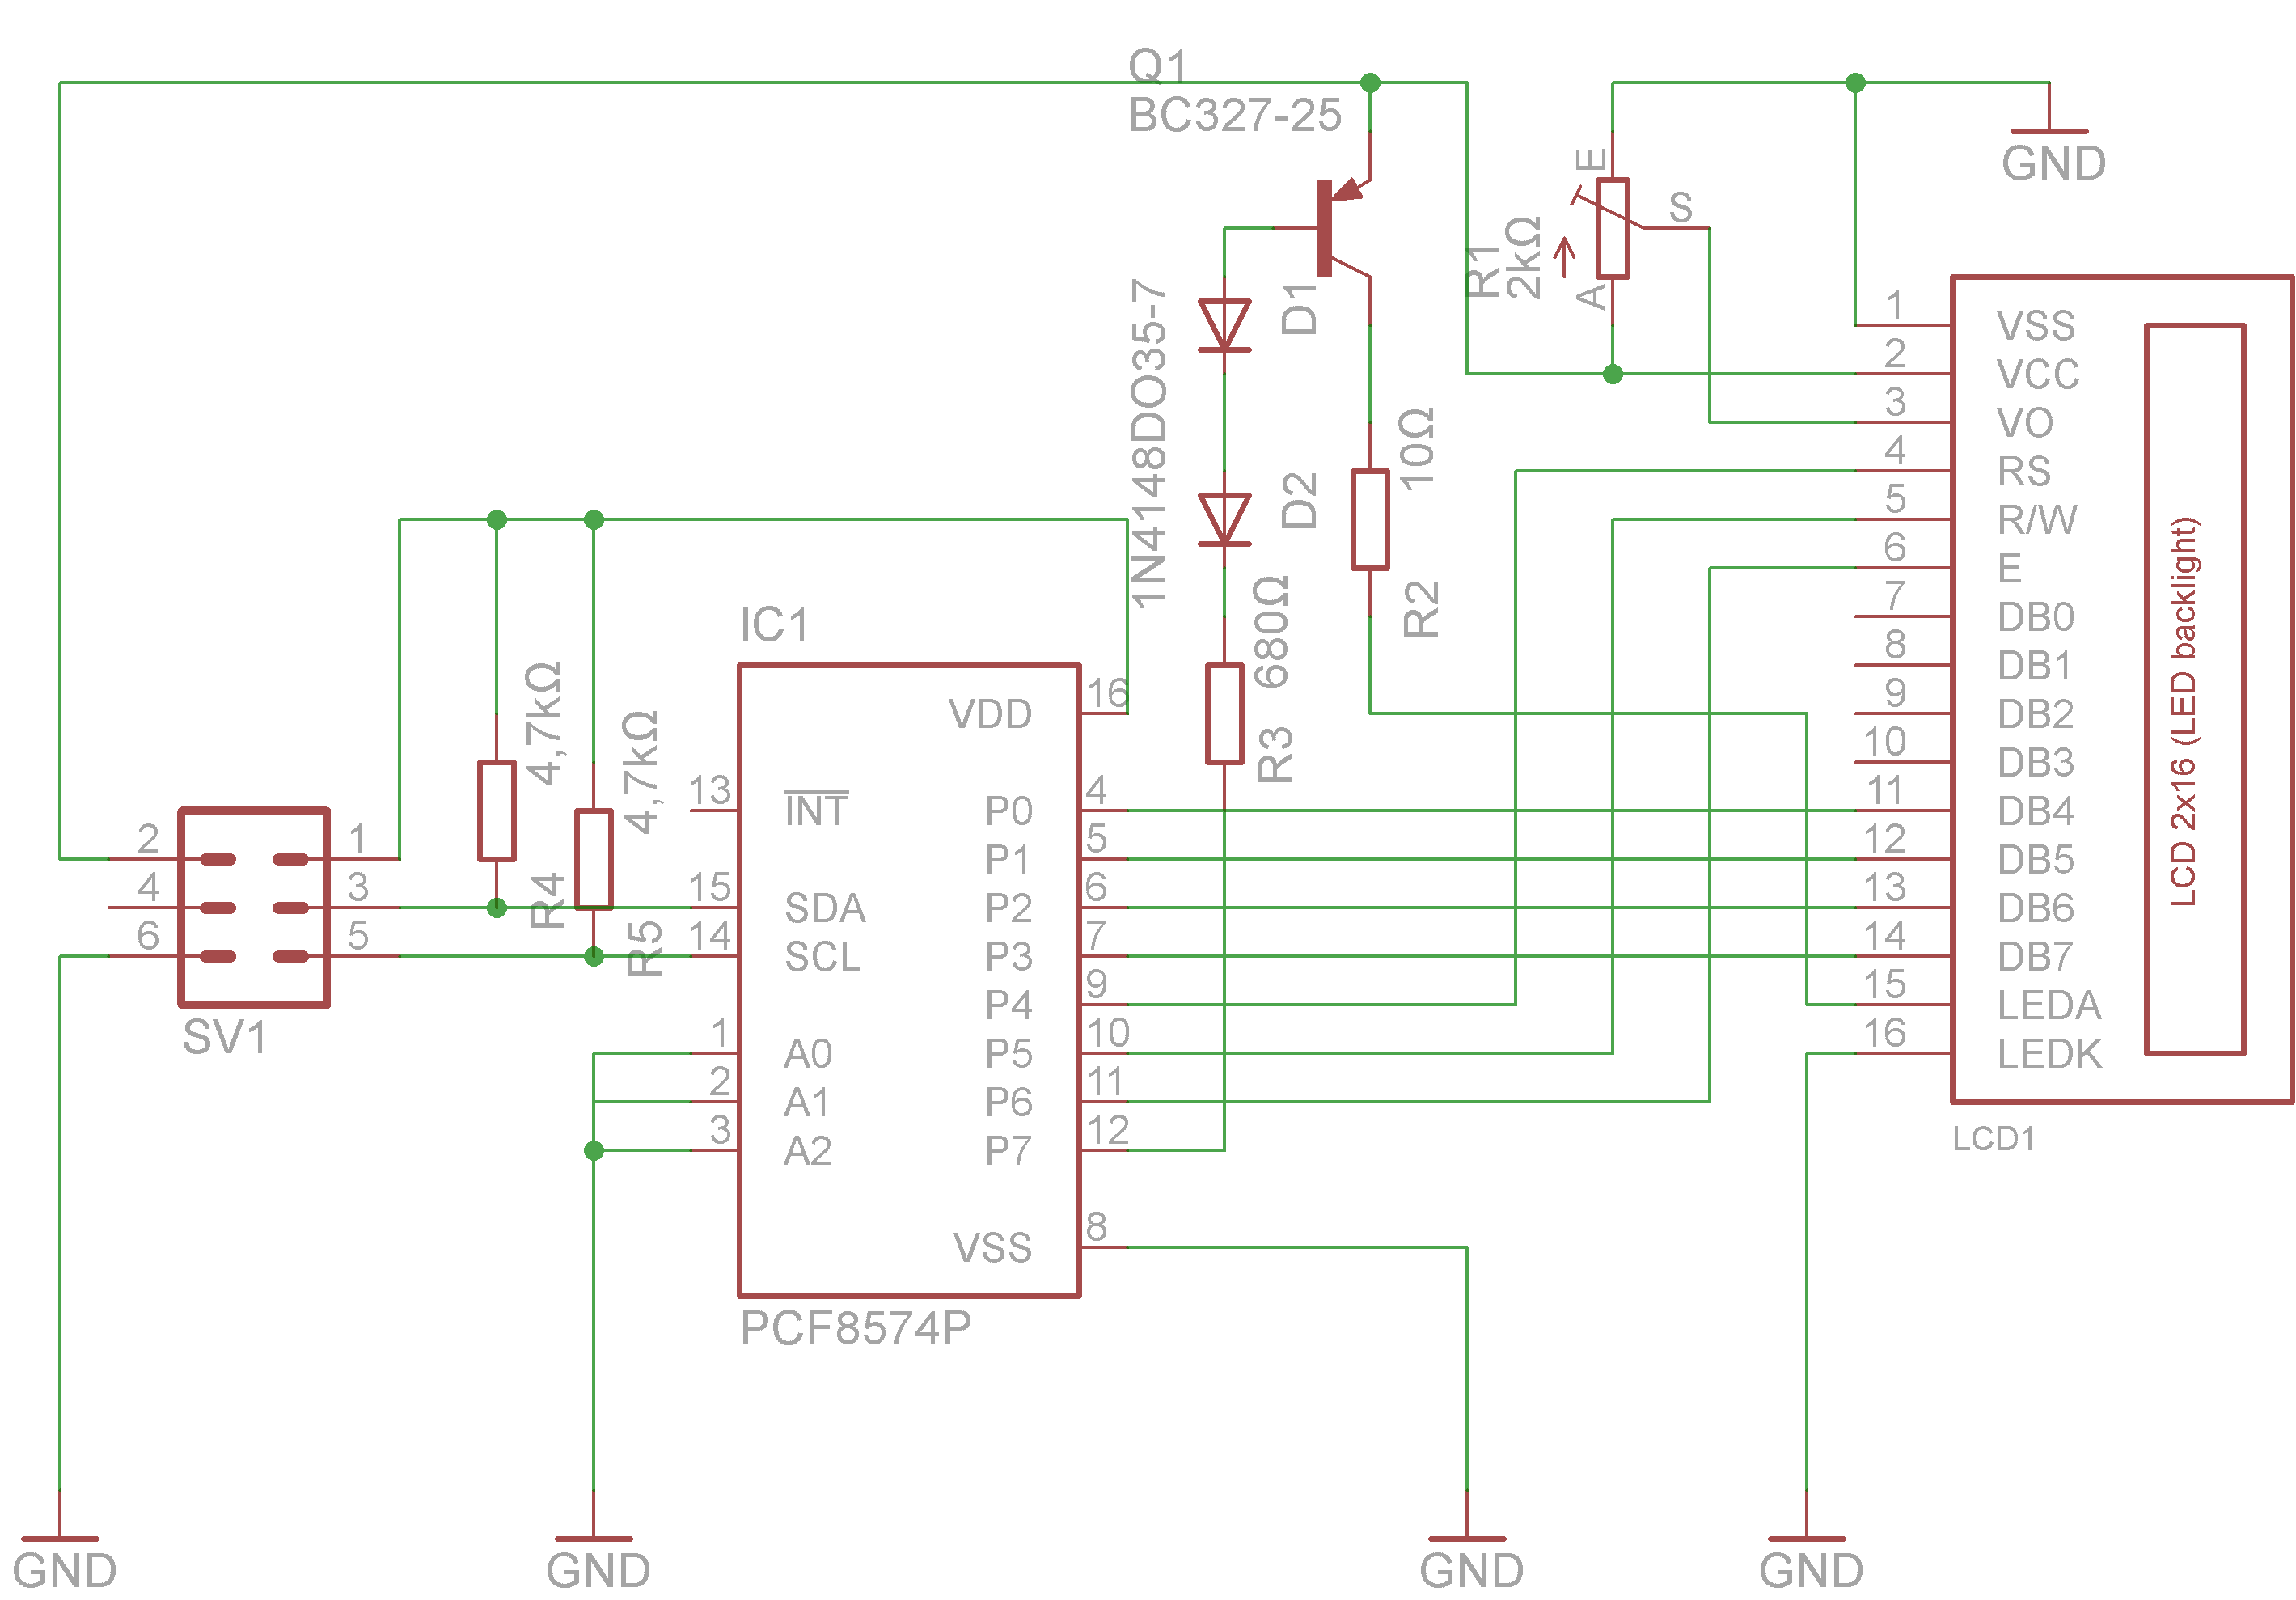
Based on these I developed small board with a 6 Pin header which is Pin compatible to the Raspberry PI. So a simple 6 pole ribbon cable can be used to connect the HD44780 Display to the fruit.
Here is my PCB. First the schematic.
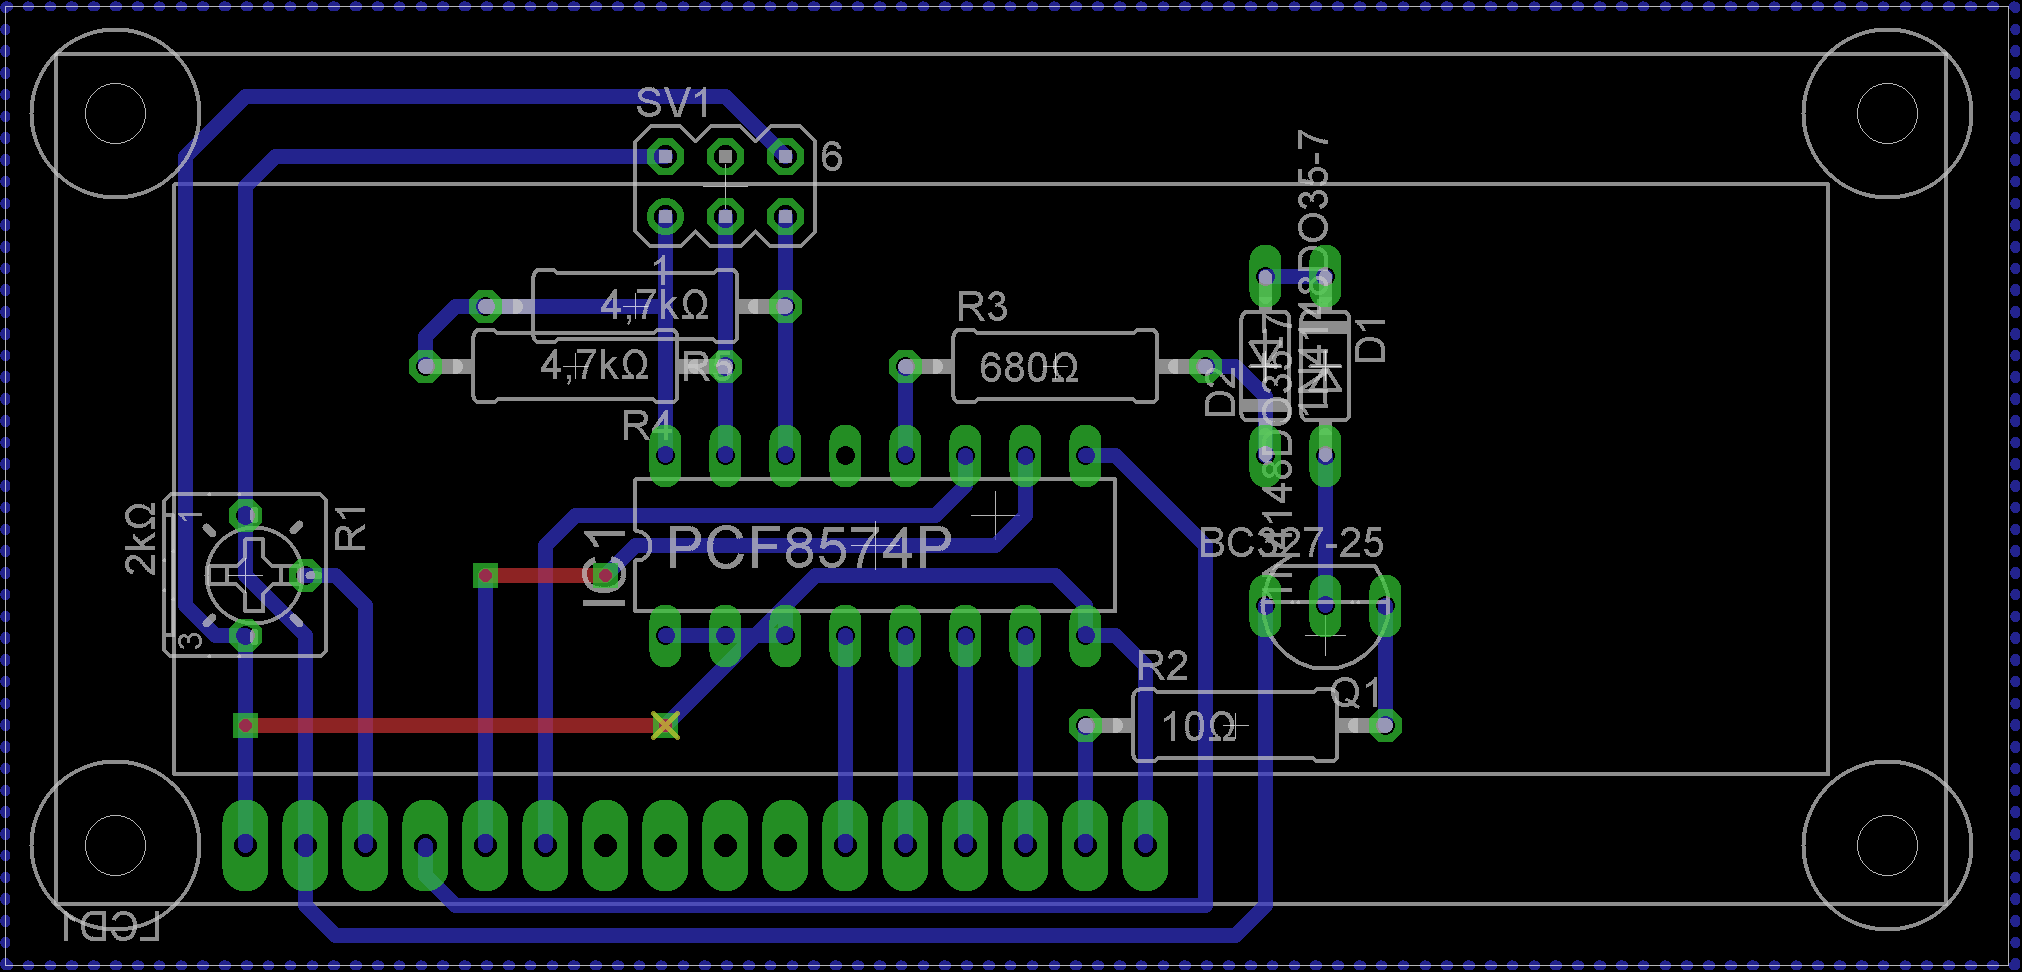
and my board layout. Unfortunately there are a lot HD44780 models available and the location and the direction of the pins are different, so you have to adapt the layout to the specification of your display.
A short description of the PCB.
The header pins in detail:
- Pin1 is the 3.3V Power Supply for the I2C Busextenter PCF8574A
- Pin 2 is the 5V Power Supply for the display
- Pin 3 I2C SDL
- Pin 5 I2C SCL
- Pin 6 GND
All PCF8574 I2C hardwareaddress pins are connected to GND, therefore the I2C Address is only defined by the used variant of PCF8574:
PCF8574 = 0x20
PCF8574A = 0x38 (I use this one)
The PCF8574 runs at 3.3V because all GPIO pins of the raspberry are designed to handle a maximum of 3.3v. Voltages greater than 3.3V can damage the I/O controller.
I have installed the raspbmc mediacenter on my Raspberry pi. raspbmc is a minimal debian based linux distribution for multimedia purposes.
To get the display running, lcdproc must be installed and configured. Login the your raspberry by ssh and get a root shell
pi@raspbmc: > sudo su -
install LCDproc, i2c tools and other stuff
root@raspbmc: # apt-get install lcdproc lcdproc-extra-drivers procmeter3 i2c-tools unzip
Check if the i2c device drivers is loaded at boot time.
lsmod|grep i2c
i2c_bcm2708 2952 0
If the module is loaded properly, two devices should exist.
ls -l /dev/i2c*

 /dev/i2c-0

/dev/i2c-1
Note: When devices does not exist. At older versions there is also the kernel module i2c-dev necessary. Try to load it
modprobe i2c-dev
and to load at boot time, append the module name i2c-dev to /etc/modules
echo i2c-dev >> /etc/modules
To access the I2C Bus select the correct device depending on your Raspberry. For Raspberry PI version A use /dev/ and for version B i2c-0/dev/i2c-1
Connect the LCD board an check if it is recognized. The parameter -y specifies the i2c bus device 0=/dev/i2c-0, 1=/dev/i2c-1. At my Raspberry PI model B:
root@raspbmc:/home/pi# i2cdetect -y 1

0  1  2  3  4  5  6  7  8  9  a  b  c  d  e  f

00:          -- -- -- -- -- -- -- -- -- -- -- -- --

10: -- -- -- -- -- -- -- -- -- -- -- -- -- -- -- --

20: -- -- -- -- -- -- -- -- -- -- -- -- -- -- -- --

30: -- -- -- -- -- -- -- -- 38 -- -- -- -- -- -- --

40: -- -- -- -- -- -- -- -- -- -- -- -- -- -- -- --

50: -- -- -- -- -- -- -- -- -- -- -- -- -- -- -- --

60: -- -- -- -- -- -- -- -- -- -- -- -- -- -- -- --

70: -- -- -- -- -- -- -- --
Next step is to define a lcdproc config file. Create /etc/LCDd.conf
[server]
DriverPath=/usr/lib/lcdproc/
Driver=hd44780
Bind=127.0.0.1
Port=13666
User=nobody
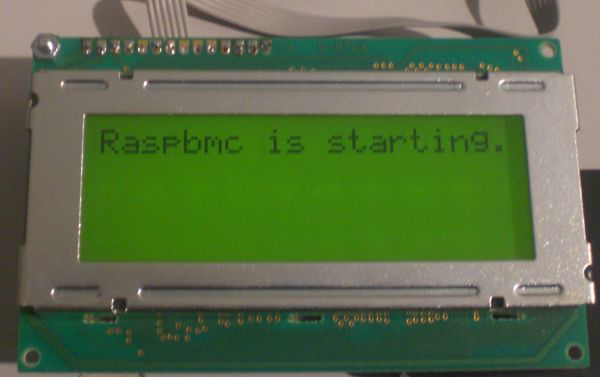
Hello="Raspbmc is starting"
WaitTime=5
ServerScreen=no
ToggleRotateKey=Enter
PrevScreenKey=Left
NextScreenKey=Right
[menu]
MenuKey=Escape
EnterKey=Enter
UpKey=Up
DownKey=Down
[hd44780]
ConnectionType=i2c
Device=/dev/i2c-1
Port=0x38
Backlight=yes
Size=20x4
DelayBus=false
DelayMult=1
Keypad=no
KeyMatrix_4_1=Enter
KeyMatrix_4_2=Up
KeyMatrix_4_3=Down
KeyMatrix_4_4=Escape
Adjust the Port parameter to the address of your PCF8574, the Device parameter to the correct i2c device depending on your Raspberry PI model and the character size of your display .
Its time to test LCDproc. Start LCDproc at the console in foreground
/usr/sbin/LCDd -f -r 2 -c /etc/LCDd.conf
The “hello” message defined in /etc/LCDd.conf should appear at the display.
If the test passed successfully start LCDd as daemon.
/usr/sbin/LCDd -c /etc/LCDd.conf
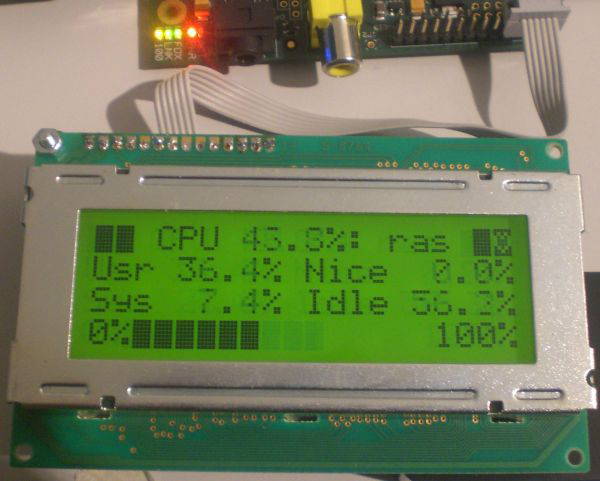
last test is to start a LCDd client to display some system information, enter
lcdproc -f C P G L M S D I B T O U K N A
Whats left is a startup script to start LCDd at boot time. raspbmc uses upstart init system.
Create a new file /etc/init/LCDd.conf
###################################################################################

# LCDd - start the LCD daemon

description "LCD daemon"

author "Michael Albert"
start on (filesystem or resume)

stop on (suspend or runlevel [!2345])
expect fork

normal exit 0
script

PATH=/sbin:/bin:/usr/sbin:/usr/bin

DAEMON=/usr/sbin/LCDd

DAEMON_OPTS="-c /etc/LCDd.conf"
exec $DAEMON $DAEMON_OPTS

end script

#######################################################################
Reload configuration and check the state of the daemon
initctl reload-configuration

initctl status LCDd

initctl start LCDd
If you want to use lcdproc to display some information from XBMC, install the XBMC LCDproc add-on.
Board schematic and layout as Eagle files, as well as the LCDd sample config file and start script and are available for download in the attached zip package.
Michael